Are you looking for something new and fun to keep your dog entertained? Why not take a DIY approach to creating some new dog toys and belongings?
There are lots of benefits and reasons to take a DIY approach! New toys and doggy items that you make yourself:
- Can keep your dog stimulated, both physically and mentally.
- Can cut down on the costs of replenishment.
- Are a great way to customise your dog’s belongings to suit your home style.
- And are a way to have some fun making bespoke items for your best friend!
Whatever your reason, you can get a lot of satisfaction from DIY Projects. Here are some ideas.
10 DIY Projects to make for your dog
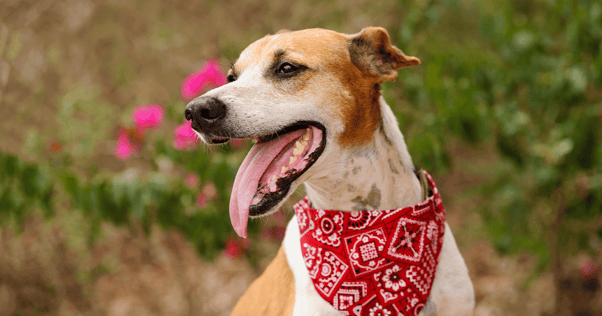
1. Trendy Dog Bandana
Although a dog’s coat needs no embellishment, a colourful bandana around their neck will be sure to turn heads – and it can double up as a drool wipe if you make it a good size. Try to make a whole wardrobe of bandanas so your pooch has one for every occasion!
You will need:
- Scissors
- Pins
- Pieces of old material, large enough to cut two squares (see instructions below). These can be seasonal to celebrate holidays like Christmas, Easter or a your dog's birthday
- A sewing machine
- Your dog’s collar
Instructions:
- Measure the length of your dog’s collar.
- Cut two square pieces of material, each side measuring HALF the length of the collar.
- With the outer sides of each square placed facing inward, on top of one another, sew 3 sides and part of the 4th side of the squares together. Leave an opening so that you can turn the whole bandana right side out.
- Turn it inside out and iron/press it so that your square is flat and neat.
- Stitch over the opening so that all sides are secure.
- You can also top-stitch 1 cm along each side from the edge – this will help to keep the bandana shape.
- Lay your dog’s collar over the material, across two opposite corners.
- Take the third corner of the material and fold it on top of the dog’s collar, to make a triangle.
- Take the same third corner and tuck it underneath the fold to make a tube shape at the top of the bandana.
- Pin it in place, leaving enough room for the collar to be inserted/removed as needed.
- Sew along the tucked-in edge to secure it in place.
Now you have one cool dog! If you want to help your pooh stay calm on the move, try spraying ADAPTIL Transport spray on the bandana (away from your dog, and before they wear it). ADAPTIL Transport makes travel less stressful, and helps to reduce panting, trembling and restlessness.
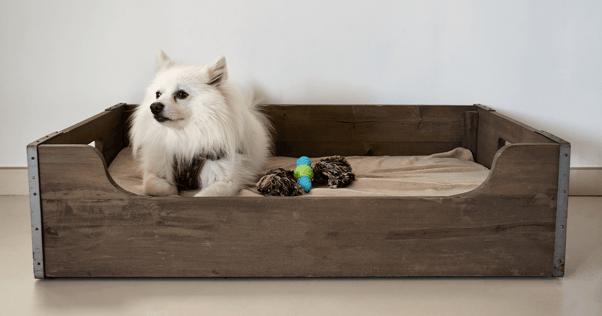
2. Raised Dog Bed
Laying your dog's comfy cushion on a raised platform can help protect them from draughts. Old pallets can make an effective raised dog base, with only a few cuts to make it the right size.
You will need:
- An old pallet – these can often be picked up free of charge from large stores that have regular bulk deliveries
- Sandpaper, or an electric sander
- A hand saw or electric saw
- An electric drill, if you want to attach sides
- Pet safe paint, colour of your choice (optional)
Instructions:
- Decide on the size of the bed, according to the size of your dog, and cut off the planks/slats you do not need from the pallet. Keep them intact if you want to make a headboard or sides for the bed.
- Using the sandpaper/electric sander, smooth off any rough areas or splinters from the pallets.
- Using the discarded planks/slats, place these at right angles to one end of the base to make a headboard, making it high enough to support a cushion. Use your electric drill to screw the planks/slats on securely.
- Do the same on two more sides if you want to make the cushion extra secure. Leave the front open to allow your dog easy access.
- Paint the pallet to the colour of your choice – or to match your room decor.
- Lay your dog’s favourite cushion/bed inside and watch them cuddle up!
3. Dog Cushion
Recycle your old single duvet – and duvet cover – into a super-comfy cushion for your pooch. Your dog will love this, particularly as it will have your scent all over it.
You will need:
- An old, single, duvet – make sure it is not made of feather or down as this can be hazardous to your dog if they like to chew. Polyester or other man-made fibres are safer
- An old, single, duvet cover – if you want to keep their bed fresh, use multiple duvet covers and rotate them regularly
- Sewing machine
- A zip, the same width as the final cushion size.
Instructions:
- Fold the duvet up into the right size for your dog – remember to leave enough space for them to stretch out.
- If necessary, cut the duvet cover width to match the size of your cushion, remembering to allow for a larger depth. If you have decided to make the cushion the same width as the duvet cover, you need only cut to the required length of the cushion..
- Use your sewing machine to stitch up three sides of the duvet cover (if necessary), leaving the fourth side open.
- Sew your zip into the fourth side. A zip is more secure than buttons or poppers, which your dog can chew.
- Insert the folded duvet into the cover and zip it up.
- Lay it in your dog’s favourite corner of the room, or pop it into your newly built raised dog bed (above).
4. Quick Dog Bed From Old Sweater
This project might be more practical for small dog breeds – unless you wear extra large jumpers!
You will need:
- A large old sweater
- Sewing machine
- Stuffing made from old t-shirts/blankets/clothes
Instructions:
- Using your sewing machine, stitch up the neck hole.
- Next, stitch up around the cuffs of the sweater.
- Stuff the body and arms of the sweater with old t-shirts/blankets until it is bulked out.
- Stitch the bottom of the sweater together to secure everything inside.
- At shoulder height, fold the arms across the body of the sweater, putting one on top of the other and stitch them together by hand to form an ‘arm pillow’ across the top of the bed.
Your pooch will love their new DIY bed, particularly as it has your scent all over it!
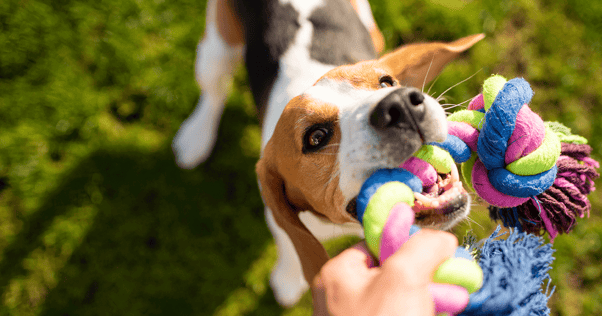
5. Tug Toy
Dogs love to play tug of war as it plays to their natural instincts of capturing and shaking prey – so try making them their own DIY tug toy.
You will need:
- An old t-shirt
- A pair of scissors
Instructions:
- Cut away all seams or edges from the t-shirt.
- Lay the t-shirt flat and snip marker points along the bottom edge at about 5-6 cm (2 inches) apart.
- Cut 50-60 cm (24 inches) strips from the length of the t-shirt, following your marker points. The longer the length of the strip, the longer the tug-toy will be.
- Stretch each strip by pulling it from each end. This will make the material curl.
- Take 3 strips and tie them in a knot together at one end. If you want a thicker tug-toy, double up on each strip.
- Braid them together, like plaiting your hair, leaving about 8cm (3 inches) from the end.
- Tie another knot to secure the braid.
- Get tugging!
6. Puzzle Feeders
Puzzle feeders are a great way to keep your dog entertained and mentally stimulated. Here are two quick ideas that you can make in mere minutes!
- Get yourself an empty plastic bottle and punch holes in it – make sure they are large enough to let your dog’s kibble or treats out. File down any sharp edges on the holes. Then fill the bottle with kibble or treats (or a mixture) and screw the lid on – your dog will soon work out that if they roll the bottle around the treats will fall out.
- Using an old muffin tray, place some kibble or treats in the tray and lodge some tennis balls on top. Pawing the balls out of the tray will release the treat.
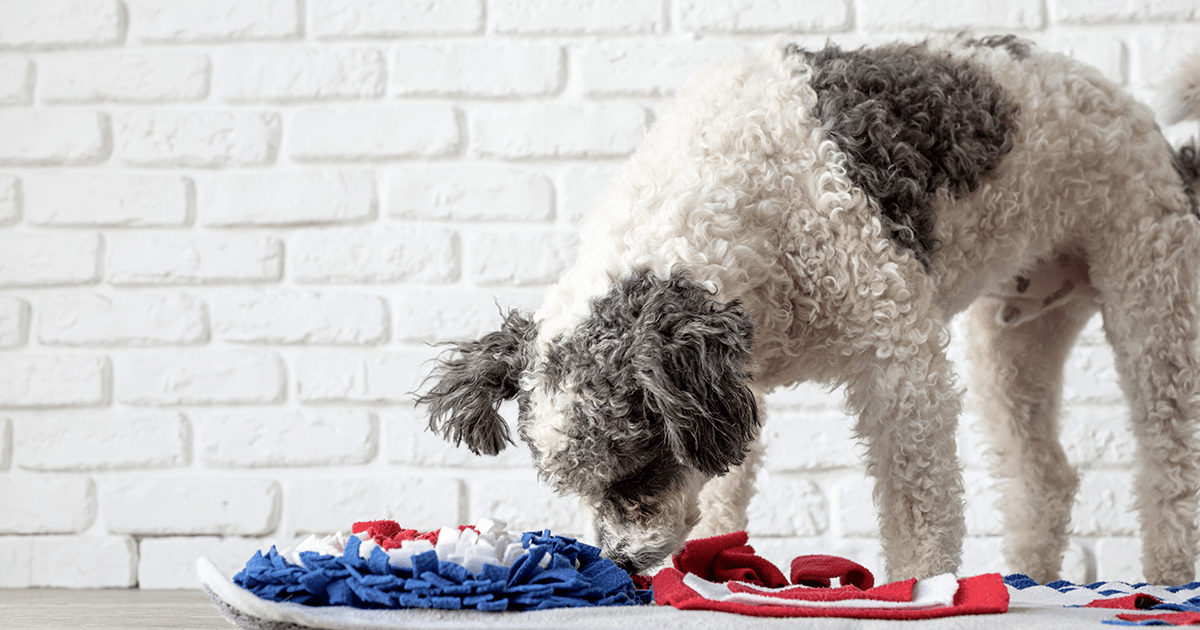
7. A Snuffle Mat
This is an especially good idea if your dog is a hound breed that likes to sniff things out.
You will need:
- A small anti-fatigue mat with holes already punched through
- Sharp scissors
- Different colours of fleece/fabric (shades of yellow and blue are good for dogs)
Instructions:
- Cut the fabric into strips of the same length – each approximately 18 cm long (7 inches). Cut one strip for each hole.
- Tie a double knot at one end of each strip, large enough not to pull through the hole. Feed through alternate holes on one side of the mat.
- Put another knot at the other end of the strip.
- Turn the mat over and repeat the process, filling in the remaining holes.
Hide your dog’s food or favourite treats in the snuffle mat and let them forage!
8. Classy Dog Toy Box
You will need:
- Wooden crate – talk to your local wine shop or use an ordinary crate
- A pencil
- A jigsaw
- Sandpaper
- Paint or non-toxic pet-safe wood stain
Instructions:
- Draw the shape of an opening on one long side of the box. Ensure this is low and wide and enough so your dog can reach the toys.
- With your jigsaw, cut out the shape of the opening along your pencil line.
- Smooth the box over with your sander, particularly the area you have just cut out.
- Paint or stain the box to suit your decor and perhaps use some doggie stencils to decorate it.
- Fill it with your dog’s favourite toys!
9. Frozen Peanut Butter and Yoghurt Treats
You will need:
- 125 g Peanut Butter (no xylitol). The peanut butter can be substituted with unsweetened apple puree or apple sauce.
- 900 ml vanilla yoghurt
- Saucepan
- Small silicone freezer moulds/ice tray
Instructions:
- Melt the peanut butter slowly in the saucepan.
- Remove from the heat and stir in the yoghurt.
- Pour the mixture into silicone moulds, leave to cool and then freeze.
- When frozen, remove from the moulds, store in an airtight container and return to the freezer.
These treats are great to help your dog cool down in hot weather.
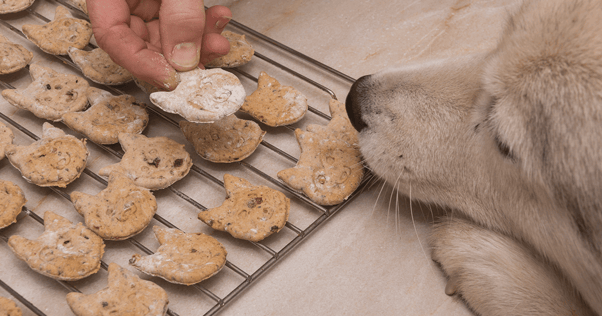
10. Meat Flavour Biscuits
Dogs always love treats and these can be used in any of the puzzle toys above, or you can make seasonal treats at different times of the year.
You will need:
- 350 g flour
- ½ tsp salt
- 1 tsp low salt beef stock granules
- 70 ml hot water
- 1 egg
- Mixing bowl
- Baking sheet
Instructions:
- Preheat the oven to 180 degrees celsius.
- In a bowl, dissolve the stock granules with the boiling water.
- Add remaining ingredients and mix well.
- Knead to a soft ball.
- Roll out on floured surface until 1 cm thick and cut into desired shapes.
- Place biscuits on the lightly greased baking tray and bake for 30 minutes.
- Remove, leave to cool and then store in an airtight container.
We hope we’ve inspired you to try a little DIY for your dog so why not get making and share them with us on our social media links. We’d love to hear from you!
Leave A Comment
Want to sign up for our blog?
Information Notice
The personal information collected is intended for Ceva Santé Animale, and Ceva group companies, in order to manage your request.This information may be passed on to service providers in order to organize this management. In accordance with the Regulations on personal data you have rights of access, rectification and limitation of processing of your data. You may also, in certain limited cases, oppose the treatment, withdraw your consent and request the deletion and portability of your data. For any request relating to your personal data please go to this page